Independence Day Cake: 5 Tips for a Joyful Celebration
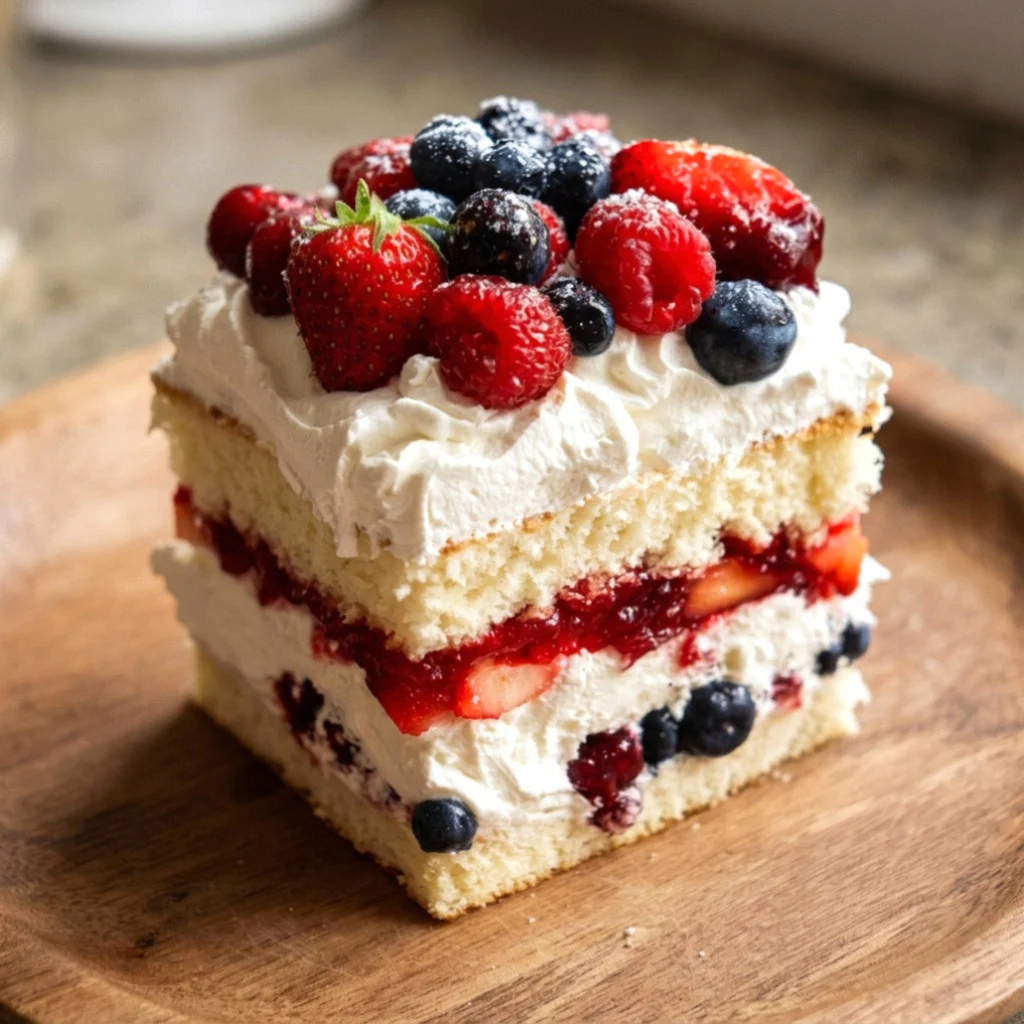
As the Fourth of July approaches, many families are preparing for festive gatherings, barbecues, and celebrations that honor the spirit of independence. One way to elevate your celebrations is by creating an unforgettable Independence Day Cake. This article will guide you through the process of making a delightful red, white, and blue dessert that will surely impress your guests. Follow these comprehensive tips to ensure your cake stands out at any summer party! The vibrant colors and delicious flavors of this cake not only symbolize patriotism but also bring joy and sweetness to your celebrations.
Ingredients
- Dry Ingredients:
- 2 ½ cups all-purpose flour
- 2 ½ teaspoons baking powder
- ½ teaspoon salt
- 1 ½ cups granulated sugar
- Wet Ingredients:
- 1 cup unsalted butter, softened
- 1 tablespoon vanilla extract
- 5 large eggs
- 1 cup whole milk
- For Decoration:
- 2 cups heavy whipping cream (for frosting)
- ½ cup powdered sugar (for frosting)
- 1 teaspoon vanilla extract (for frosting)
- Fresh strawberries (for red layer)
- Blueberries (for blue layer)
- Red and blue sprinkles (optional)
Note: For gluten-free options, substitute all-purpose flour with a 1:1 gluten-free baking blend. Ensure that all other ingredients are gluten-free as well. Additionally, for the best flavor and texture, it is recommended to use quality ingredients such as organic eggs and real vanilla extract, which can significantly enhance the cake’s overall taste.
Steps / Instructions
- Preheat the oven: Set your oven to 350°F (175°C) and grease and flour three 9-inch round cake pans. This preparation is crucial to prevent the cake from sticking, ensuring that you can easily remove the layers after baking.
- Mix dry ingredients: In a large bowl, whisk together the flour, baking powder, and salt until well combined. This step helps to aerate the flour, ensuring a light and fluffy cake texture.
- Creme butter and sugar: In another bowl, beat the softened butter and granulated sugar with an electric mixer on medium speed until the mixture is light and fluffy, about 3-4 minutes. This process incorporates air into the mixture, which is essential for achieving a well-risen cake.
- Add eggs: Add the eggs, one at a time, mixing well after each addition. Then stir in the vanilla extract. Each egg should be fully incorporated before adding the next to maintain a smooth batter.
- Combine mixtures: Gradually add the dry mixture to the butter mixture, alternating with the milk. Begin and end with the dry ingredients. Mix until just combined; do not overmix. Overmixing can develop gluten in the flour, resulting in a dense cake instead of a tender crumb.
- Divide batter: Divide the batter evenly among three bowls. Leave one bowl plain, and dye one with red food coloring to achieve a vibrant red shade. Dye the last bowl with blue food coloring. Make sure to use gel food coloring for the best results, as it provides more vivid colors without altering the batter’s consistency.
- Bake: Pour each colored batter into the prepared cake pans and bake for 25-30 minutes or until a toothpick inserted in the center comes out clean. Allow cakes to cool in the pans for 10 minutes before transferring to wire racks to cool completely. Baking times may vary based on your oven, so keep an eye on the cakes as they bake.
- Make the frosting: In a large bowl, beat the heavy whipping cream until it thickens. Gradually add powdered sugar and vanilla extract, continuing to beat until stiff peaks form. This fluffy frosting will complement the cake perfectly, adding a lightness that balances the sweetness.
- Assemble the cake: Place the blue layer on a serving plate, spread a layer of frosting on top, then add the red layer, followed by more frosting. Finally, place the white layer on top. Ensure that each layer is evenly spread for a beautiful final presentation.
- Decorate: Use the remaining frosting to cover the entire cake. Decorate the top with fresh strawberries, blueberries, and optional sprinkles for a festive touch. Creating a decorative pattern with the fruits not only enhances the visual appeal but also adds fresh flavors with every slice.
Tips & Tricks
- Storage: Store the decorated cake in an airtight container in the refrigerator for up to 3 days. For optimal taste, serve it fresh within the first day or two. Keeping the cake chilled also helps maintain the frosting’s texture.
- Make-ahead: The cake layers can be made a day in advance and stored tightly wrapped in plastic wrap. Frosting can also be prepared in advance and chilled until ready to use. This allows you to enjoy the process without rushing on the day of your celebration.
- Common mistakes: Avoid overmixing your batter, as this can lead to a dense cake. Also, make sure your eggs and milk are at room temperature for a smooth batter. Cold ingredients can lead to a lumpy mixture that doesn’t blend well.
- Pro techniques: For even layers, use a kitchen scale to measure each layer’s batter. This ensures uniformity for a professional-looking cake. Additionally, leveling the tops of each cooled cake layer with a serrated knife can create a flat surface, making stacking easier.
Variations
You can customize your Independence Day Cake by incorporating various flavors or dietary alternatives. Here are some ideas: Check out our related guide for more tips. These variations can help tailor the cake to suit different preferences and dietary needs.
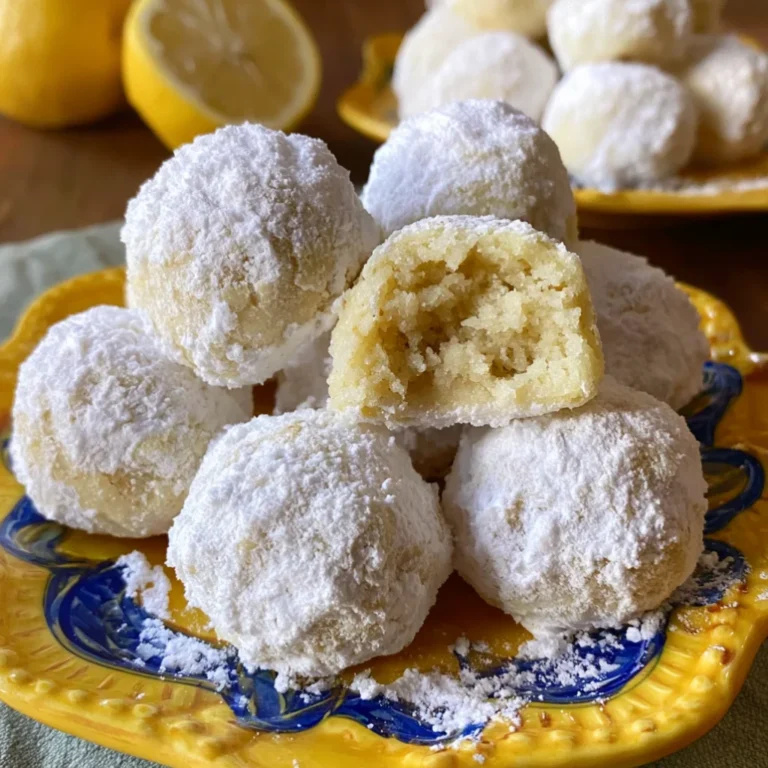
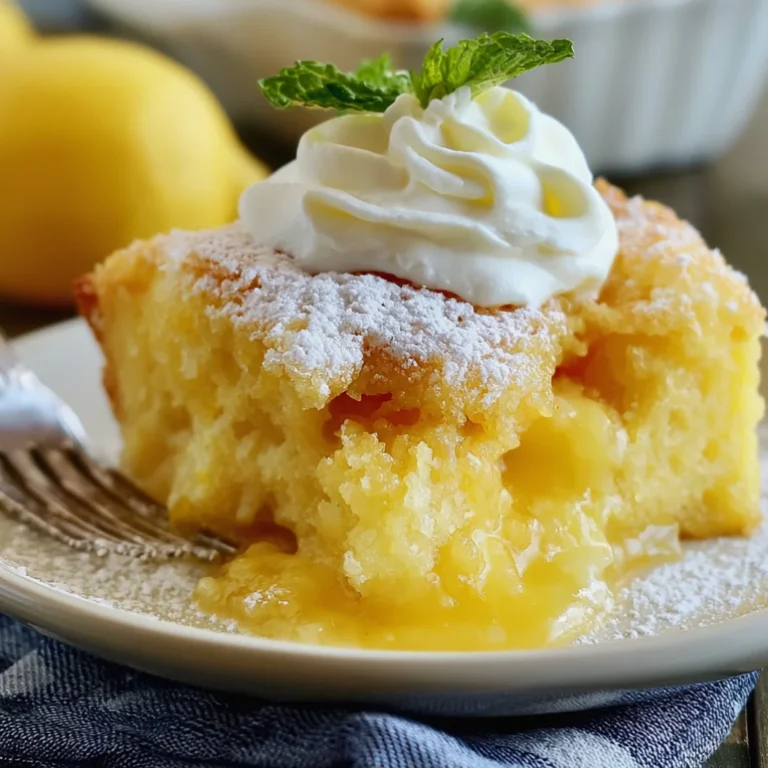
- Flavor variations: Experiment with different cake flavors such as chocolate, lemon, or almond to add a unique twist to your Independence Day Cake. Each flavor can provide a delightful surprise for your guests.
- Dietary alternatives: For a vegan version, substitute eggs with flax eggs (1 tablespoon flaxseed meal + 2.5 tablespoons water per egg), use a plant-based butter, and non-dairy milk. This allows everyone to enjoy a slice of this festive dessert, regardless of dietary restrictions.
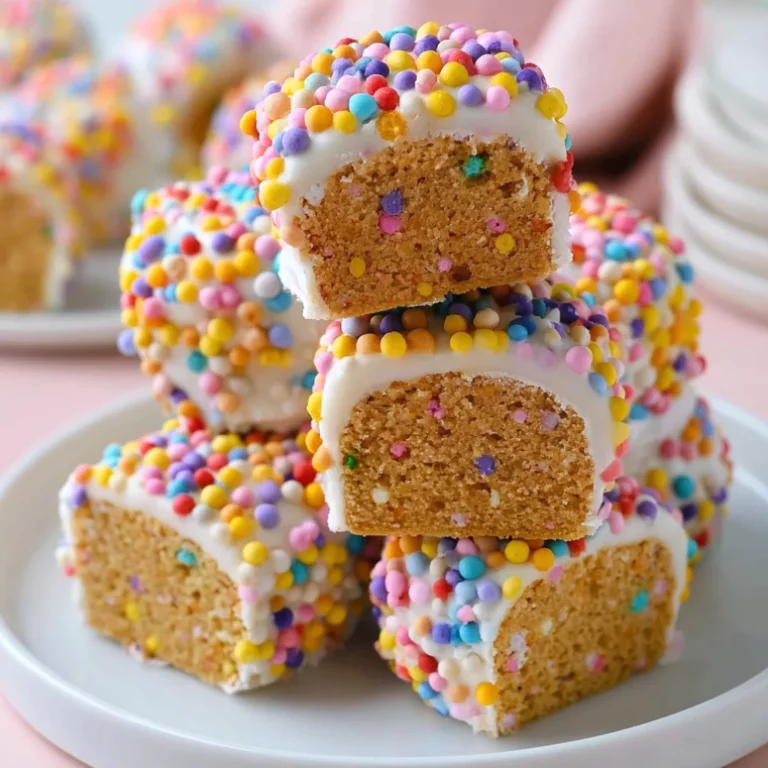
- Creative cake presentations: Consider creating a layered cake with alternating colors or adding edible glitter for a festive touch. You can also use cookie cutters to create fun shapes from the cake for an added playful element.
Serving Suggestions
Present your Independence Day Cake with style! Here are some serving suggestions:
- Pair it with a refreshing Sparkling Rosé Punch for a delightful summer drink. The bubbly sweetness of the punch complements the cake’s flavors beautifully.
- Serve alongside classic American desserts like Banana Pudding or a fresh fruit salad. This variety offers something for everyone at your gathering.
- Garnish each slice with additional berries and a dollop of whipped cream for an extra touch of elegance. A sprig of mint can also add a pop of color and freshness to each serving.
Independence Day Cake
A delightful red, white, and blue dessert that symbolizes patriotism and brings joy to celebrations.
Ingredients
- 2 ½ cups all-purpose flour
- 2 ½ teaspoons baking powder
- ½ teaspoon salt
- 1 ½ cups granulated sugar
- 1 cup unsalted butter, softened
- 1 tablespoon vanilla extract
- 5 large eggs
- 1 cup whole milk
- 2 cups heavy whipping cream (for frosting)
- ½ cup powdered sugar (for frosting)
- 1 teaspoon vanilla extract (for frosting)
- Fresh strawberries (for red layer)
- Blueberries (for blue layer)
- Red and blue sprinkles (optional)
Directions
Preheat the oven: Set your oven to 350°F (175°C) and grease and flour three 9-inch round cake pans.
Mix dry ingredients: In a large bowl, whisk together the flour, baking powder, and salt until well combined.
Creme butter and sugar: In another bowl, beat the softened butter and granulated sugar with an electric mixer on medium speed until the mixture is light and fluffy, about 3-4 minutes.
Add eggs: Add the eggs, one at a time, mixing well after each addition. Then stir in the vanilla extract.
Combine mixtures: Gradually add the dry mixture to the butter mixture, alternating with the milk. Begin and end with the dry ingredients.
Divide batter: Divide the batter evenly among three bowls. Leave one bowl plain, and dye one with red food coloring and the last bowl with blue food coloring.
Bake: Pour each colored batter into the prepared cake pans and bake for 25-30 minutes or until a toothpick inserted in the center comes out clean.
Make the frosting: In a large bowl, beat the heavy whipping cream until it thickens. Gradually add powdered sugar and vanilla extract, continuing to beat until stiff peaks form.
Assemble the cake: Place the blue layer on a serving plate, spread a layer of frosting on top, then add the red layer, followed by more frosting. Finally, place the white layer on top.
Decorate: Use the remaining frosting to cover the entire cake. Decorate the top with fresh strawberries, blueberries, and optional sprinkles.
Recipe Reviews
- ★★★★★
Excellent recipe!
Leave a Reply
Your email address will not be published. Required fields are marked *


Excellent recipe!