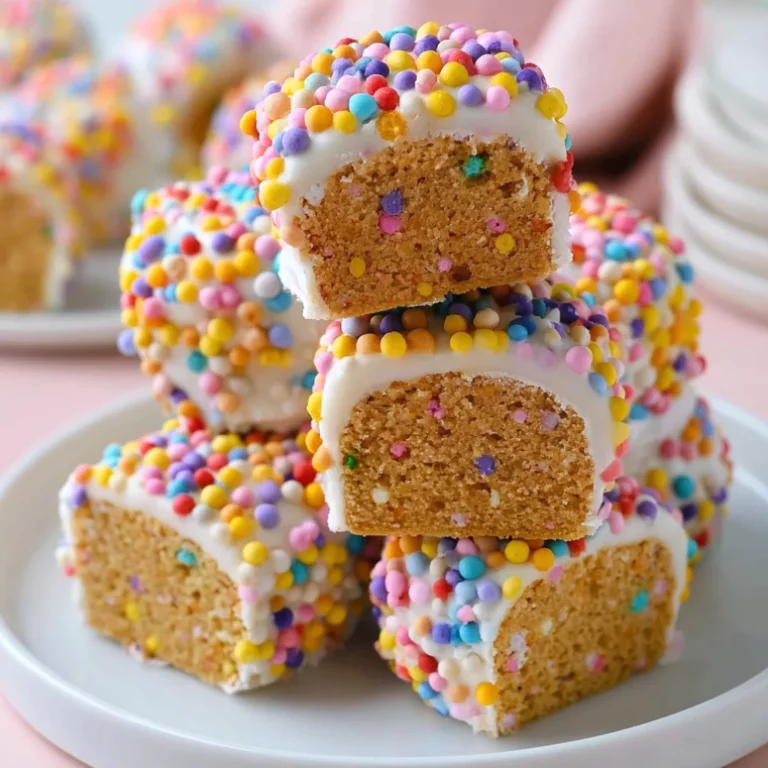
Independence Day Cookies Decorated for Festive Joy
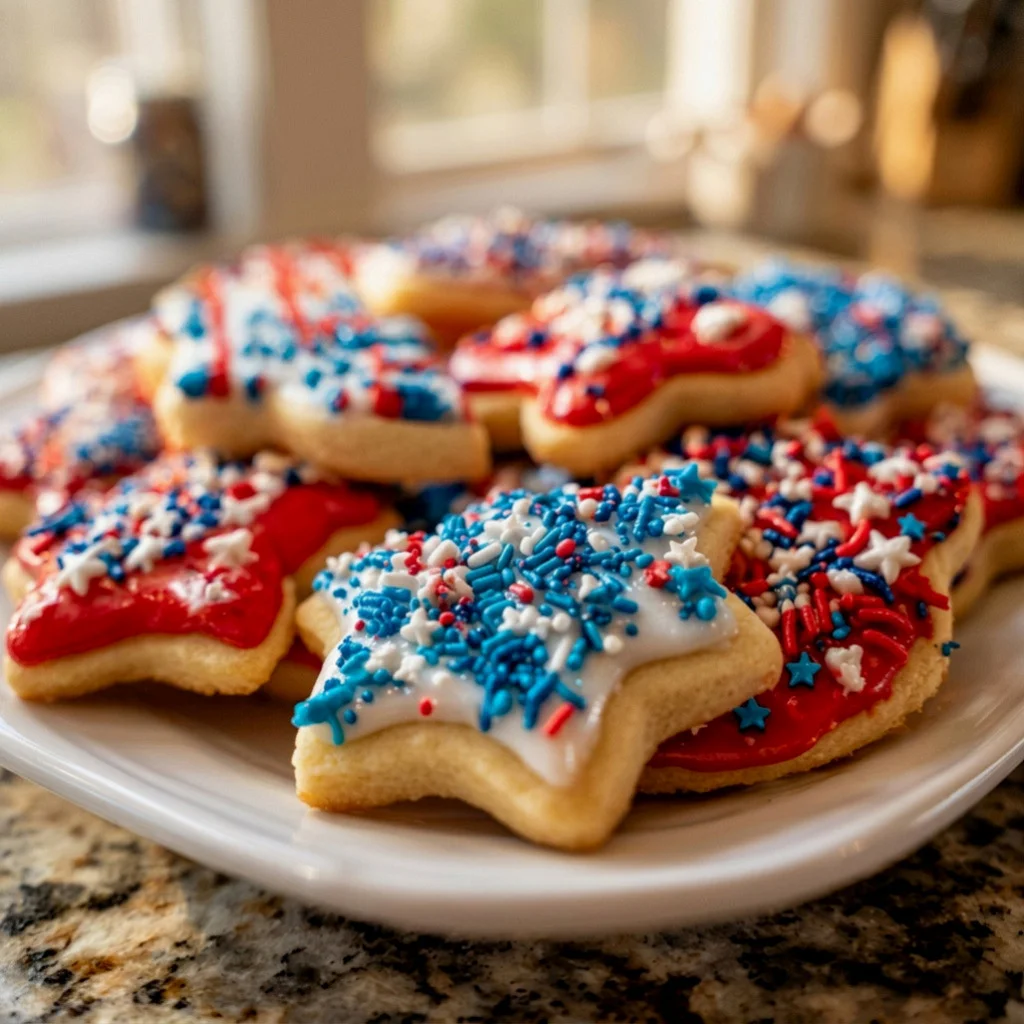
Independence Day is a time for celebration, and what better way to celebrate than with festive Independence Day cookies? These cookies are not only delicious but also beautifully decorated, making them the perfect treat for your 4th of July gatherings. Let’s dive into this delightful recipe that combines easy cookie decorating techniques with patriotic flair! These Independence Day cookies are sure to be a hit, not just for their taste but also for their vibrant appearance, capturing the essence of the holiday in every bite. Whether you’re enjoying them at a picnic or sharing them at a barbecue, these cookies will truly stand out.
Ingredients
- For the Cookie Dough:
- 3 cups all-purpose flour
- 1 teaspoon baking powder
- 1/2 teaspoon salt
- 1 cup unsalted butter, softened to room temperature for optimal mixing; this ensures a smooth texture
- 1 1/2 cups granulated sugar
- 1 large egg, at room temperature improves emulsification and helps the dough bind together
- 2 teaspoons pure vanilla extract, for rich flavor; consider using homemade extract for added depth
- For the Decoration:
- 2 cups vanilla frosting for cookies (homemade or store-bought; homemade frosting can enhance flavor and texture)
- Red gel food coloring, to create vibrant red hues that pop against the cookie base
- Blue gel food coloring, essential for that patriotic touch, ensuring your cookies are festive
- Colorful sprinkles for cookies (red, white, and blue); larger sprinkles can add fun texture and visual interest
- Decorative stars and flag-shaped sprinkles (optional, but highly recommended for visual appeal; they add a whimsical touch)
Note: For the best results, use high-quality butter and pure vanilla extract. These ingredients can significantly impact the flavor and texture of your Independence Day cookies. You can substitute gluten-free flour if needed, ensuring that everyone can enjoy these festive treats. Additionally, feel free to experiment with different decorating styles to make them uniquely yours. You can learn more about this topic and explore various techniques to elevate your cookie decorating game.
Steps / Instructions
- Prepare the Cookie Dough: In a medium bowl, whisk together the flour, baking powder, and salt until evenly combined. This step ensures that the leavening agent is uniformly distributed throughout the dough, which is critical for achieving a light texture. This mixture sets the foundation for your Independence Day cookies.
- Mix the Butter and Sugar: In a large mixing bowl, cream the softened butter and granulated sugar together until light and fluffy, about 3-5 minutes. This process incorporates air into the mixture, which helps in creating a tender cookie. You want a pale, creamy color that indicates proper aeration.
- Add Egg and Vanilla: Beat in the egg and vanilla extract, mixing until well combined. The egg acts as a binder and helps add moisture, while the vanilla enhances the overall flavor profile of the cookies. This step also contributes to the cookies’ delightful aroma as they bake.
- Combine the Mixtures: Gradually add the dry ingredients to the wet ingredients, mixing just until combined. Avoid overmixing, as this can lead to tough cookies. The dough should be soft and slightly sticky but manageable; this is the perfect consistency for rolling out your Independence Day cookies.
- Chill the Dough: Wrap the dough in plastic wrap and refrigerate for at least 1 hour or until firm. Chilling the dough is an essential step that makes it easier to roll out and helps the cookies maintain their shape during baking. Cold dough also prevents spreading, which is crucial for those festive shapes.
- Preheat the Oven: Preheat your oven to 350°F (175°C). Ensure your oven is fully preheated before placing the cookies inside for even baking. An oven thermometer can help verify the temperature for optimal results.
- Roll Out the Dough: On a floured surface, roll out the chilled dough to about 1/4-inch thickness. Use fun cookie shapes (stars, hearts, etc.) to cut out cookies. If the dough sticks, dust it lightly with more flour as needed. This thickness allows the cookies to bake evenly, ensuring they are soft yet hold their shape.
- Bake the Cookies: Place the cookies on a baking sheet lined with parchment paper and bake for 8-10 minutes, or until the edges are lightly golden. Keep an eye on them as baking times can vary; the cookies should be set in the middle but still soft. Allow cookies to cool on the baking sheet for a few minutes before transferring them to a wire rack to cool completely. This cooling time is essential for setting the cookies.
- Prepare the Frosting: While the cookies cool, divide the vanilla frosting into three bowls. Leave one bowl white, then tint one bowl red and one bowl blue using gel food coloring. Mix thoroughly until you achieve your desired colors, making sure the colors are vibrant for maximum visual impact. This is where the fun begins—don’t be afraid to get creative!
- Decorate the Cookies: Once the cookies are completely cooled, use a spatula or piping bag to spread or pipe the frosting onto the cookies. Get creative with patterns and designs! Use different techniques such as swirling or layering colors to create stunning effects. Consider using different piping tips for varied designs.
- Add Sprinkles: While the frosting is still wet, sprinkle colorful sprinkles on top for a festive touch. Consider using themed sprinkles like stars and flags for an extra patriotic flair, which enhances the holiday spirit of these Independence Day cookies and makes them even more visually appealing.
Tips & Tricks
- Storage: Store the decorated cookies in an airtight container at room temperature for up to 5 days. To maintain freshness, separate layers of cookies with parchment paper. For longer storage, consider freezing the undecorated cookies; they can be frozen for up to 3 months. When ready to serve, simply thaw at room temperature.
- Make-Ahead: You can prepare the cookie dough in advance and refrigerate it for up to 3 days before rolling and baking. This saves time on the day of your celebration and allows for a more relaxed baking experience. Dough can also be frozen for longer periods; just thaw before rolling.
- Common Mistakes to Avoid: Ensure your butter is softened properly for easy mixing; it should be creamy but not melted. Also, avoid overbaking; cookies should be soft when taken out of the oven, as they will continue to firm up while cooling. Keep a close watch during the last few minutes of baking!
- Expert Techniques: If using piping bags for decorating, practice on parchment paper first to get the hang of it! Start with simple designs before advancing to more intricate patterns to build confidence in your decorating skills. Also, consider using a turntable for easier frosting application.
Variations
- Gluten-Free: Substitute all-purpose flour with a gluten-free blend for a delicious gluten-free version of Independence Day cookies, ensuring everyone at your gathering can indulge without worry. Make sure the blend contains xanthan gum for better texture.
- Flavor Variations: Mix in different extracts, such as almond or lemon, to add a unique twist to your cookies. You may even consider adding citrus zest for a refreshing flavor that complements the sweetness. Adding spices like cinnamon or nutmeg can also give an unexpected depth.
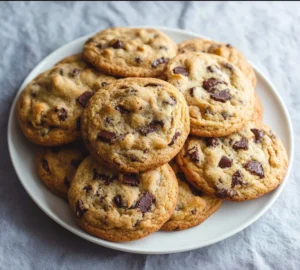
- Seasonal Cookie Flavors: Experiment with seasonal flavors like peppermint for the winter holidays or pumpkin spice during autumn. These variations can make your Independence Day cookies a year-round favorite! Additionally, you could try chocolate chip or oatmeal raisin versions for a twist.
Independence Day Cookies Decorated for Festive Joy
Delicious and beautifully decorated cookies for Independence Day celebrations.
Ingredients
- 3 cups all-purpose flour
- 1 teaspoon baking powder
- 1/2 teaspoon salt
- 1 cup unsalted butter, softened to room temperature
- 1 1/2 cups granulated sugar
- 1 large egg, at room temperature
- 2 teaspoons pure vanilla extract
- 2 cups vanilla frosting for cookies
- Red gel food coloring
- Blue gel food coloring
- Colorful sprinkles for cookies (red, white, and blue)
- Decorative stars and flag-shaped sprinkles (optional)
Directions
In a medium bowl, whisk together the flour, baking powder, and salt until evenly combined.
In a large mixing bowl, cream the softened butter and granulated sugar together until light and fluffy, about 3-5 minutes.
Beat in the egg and vanilla extract, mixing until well combined.
Gradually add the dry ingredients to the wet ingredients, mixing just until combined.
Wrap the dough in plastic wrap and refrigerate for at least 1 hour or until firm.
Preheat your oven to 350°F (175°C).
On a floured surface, roll out the chilled dough to about 1/4-inch thickness and cut out cookies using cookie shapes.
Place the cookies on a baking sheet lined with parchment paper and bake for 8-10 minutes, or until the edges are lightly golden.
While the cookies cool, divide the vanilla frosting into three bowls. Leave one bowl white, then tint one bowl red and one bowl blue using gel food coloring.
Once the cookies are completely cooled, use a spatula or piping bag to spread or pipe the frosting onto the cookies.
While the frosting is still wet, sprinkle colorful sprinkles on top.
Recipe Reviews
- ★★★★★
Excellent recipe!
Leave a Reply
Your email address will not be published. Required fields are marked *


Excellent recipe!